The Object Generator
Customizing the Object Generator
Randomize Scale

Checking Randomize Scale will generate differently sized objects. If you want your scene to feel more realistic, check this box. It is pretty unrealistic to have bushes or rocks that are all the same size - when was the last time you saw that in nature? Even varying the scale a little will make your environment feel more lifelike.
You can set the Min Scale and Max Scale to control the range of how big and small your objects spawn.
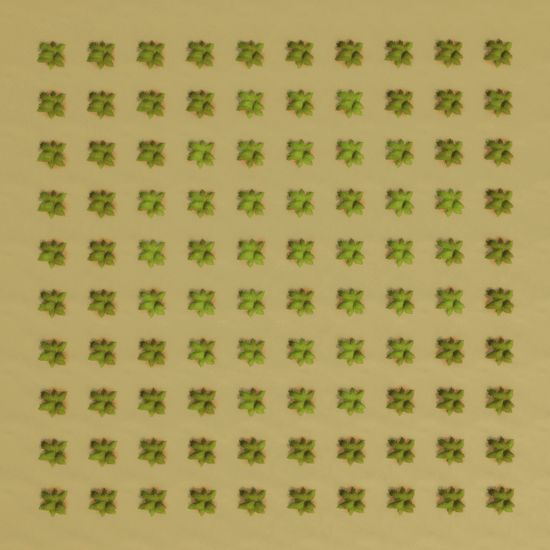
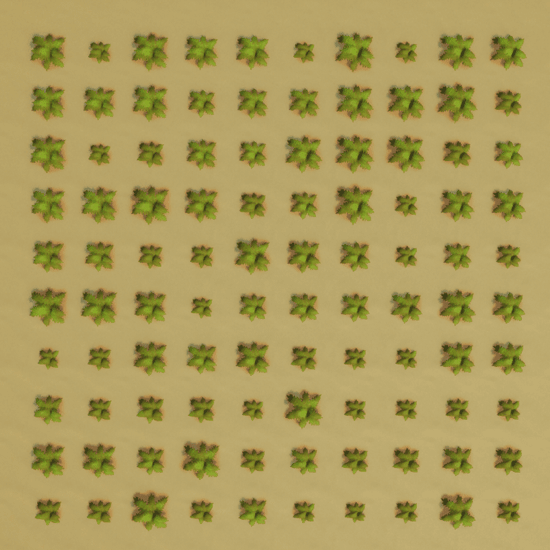 Randomize Scale unchecked (left) vs. Randomize Scale checked with a Min Scale of 0.7 and a Max Scale of 1.3 (right)
Non-Uniform Scale
Check Use Non-Uniform Scale if you would like to further fine tune the scale of your objects. You can set the Min and Max Scale for each of an object's axis (X, Y, and Z).

Randomize Yaw
Yaw is an object's rotation along the Y-axis. Checking Randomize Yaw ensures all of your objects will be facing different directions. This is another box you should keep checked if you want your scene to feel more realistic!

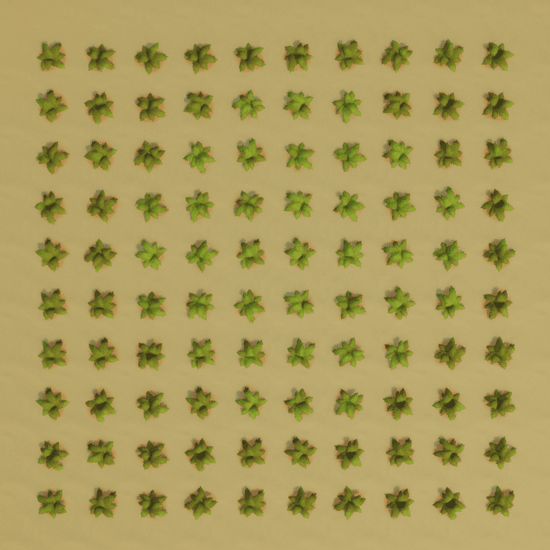 Randomized Yaw unchecked (left) vs. checked (right)

Randomize Color
If you would like to randomize the color of your spawned objects check Use Random Color. Most objects in real life aren't the same color, however setting the correct min and max RGB values can be tricky… it can be hard to understand if you aren't already familiar with how RGB values are assigned. Unfortunately we won't be covering it in this tutorial!

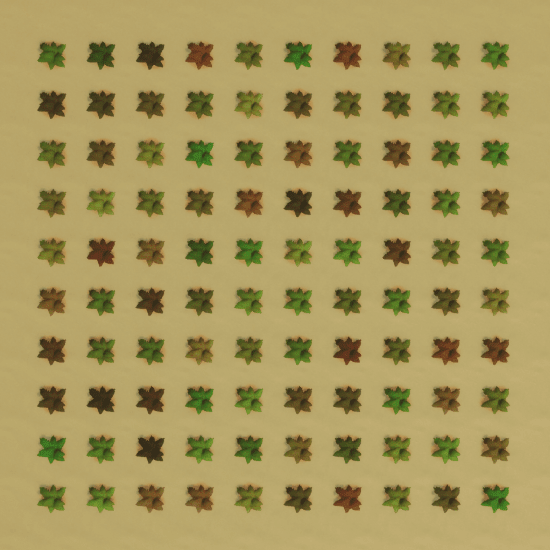 Randomized Color unchecked (left) vs. checked (right)

In-Between Distance
In-Between Distance controls how far apart objects are from each other in meters. If Distance is set to 5, each object will spawn in the center of a 5x5 meter square. Higher numbers means objects will spawn further apart.

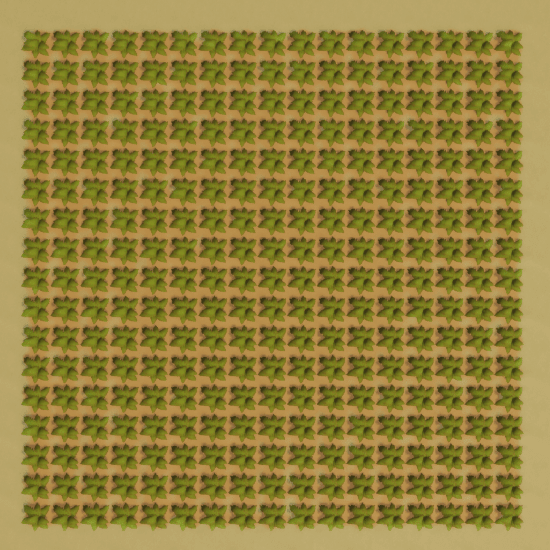 In-Between Distance set to 5 (left) vs. set to 2 (right)
Position Randomness
Position Randomness is a percentage that randomizes the placement of each object based on what In-Between Distance is set to. If Distance is set to 5 and Randomness is set to 0, each object will spawn in exactly the center of a 5x5 square. If you set Randomness to 1, each object will spawn up to 5 meters away (100% of Distance) from the center of it's square. If you set Randomness to 2, each object will spawn up to 10 meters away (200% of Distance) from the center of it's square.
TL;DR: The higher Position Randomness is set to, the more displaced objects spawned will be.

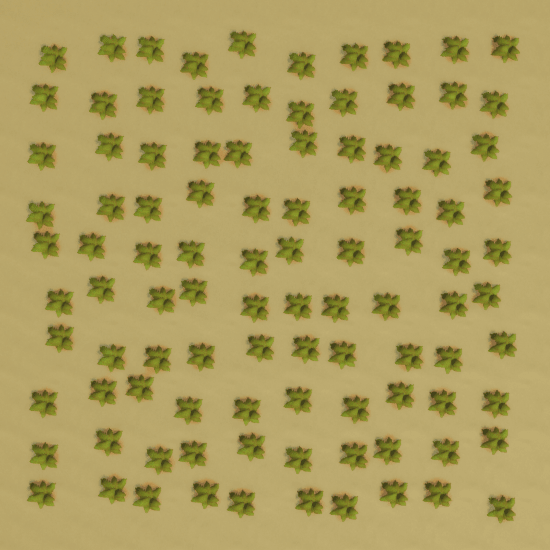
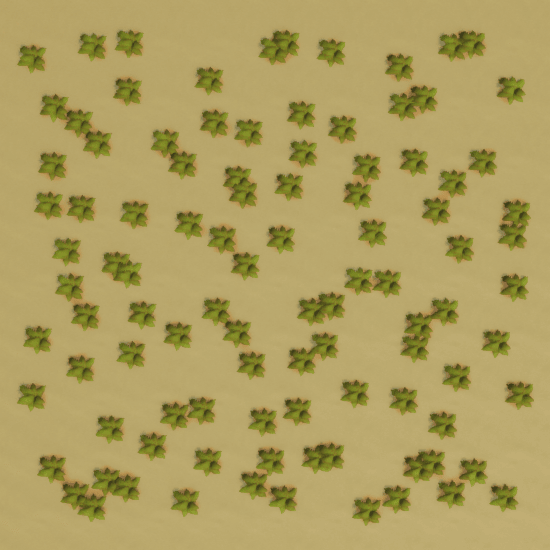
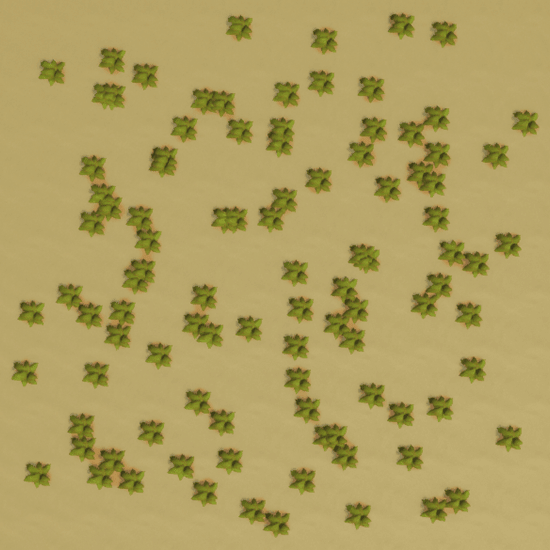 Randomness set to 0 (top left), Randomness set to 0.5 (top right), Randomness set to 1 (bottom left), Randomness set to 3 (bottom right)
Spawn Upright
Leave Spawn Upright unchecked if you want your objects to spawn aligned to the terrain. It's best to leave Spawn Upright unchecked for organic things like plants and trees.
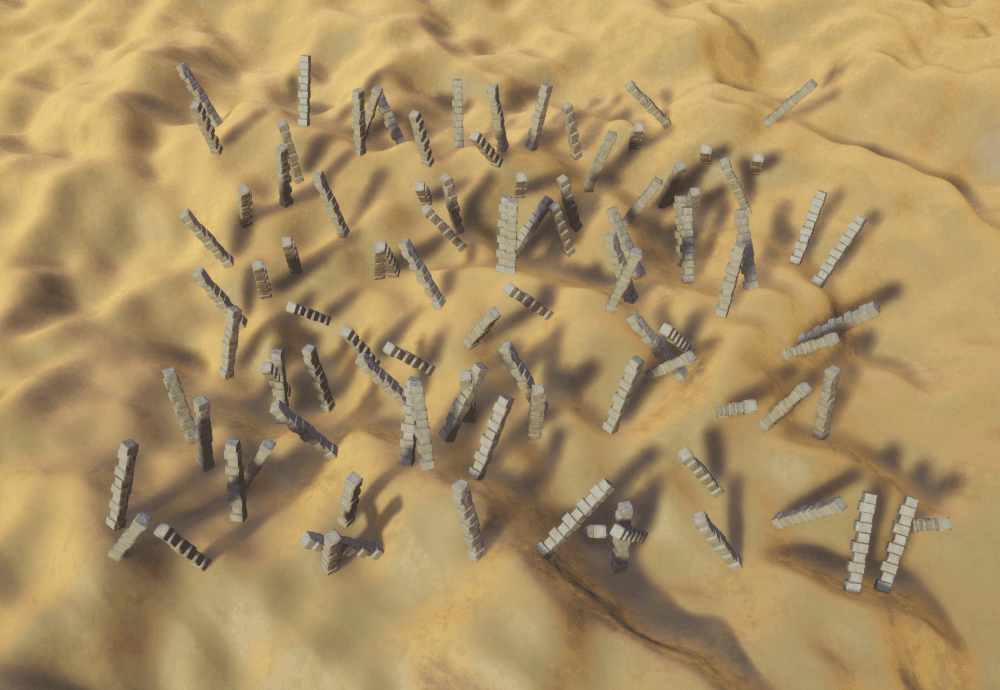
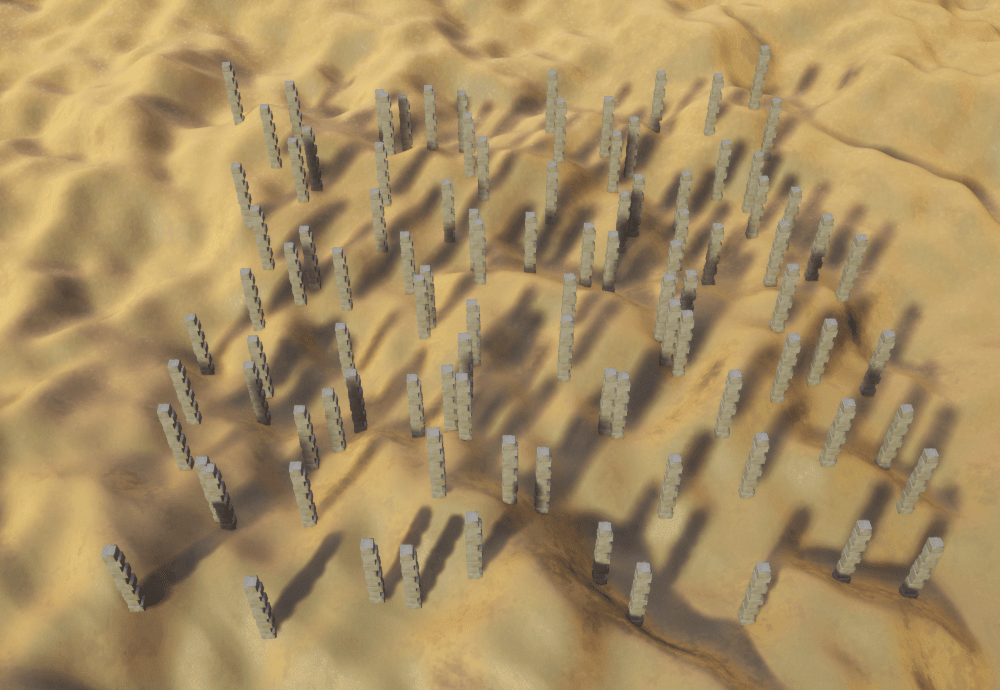 Spawn Upright unchecked (left) vs. checked (right)
Spawn Only on Terrain
Checking Only Spawn On Terrain ensures spawned objects will only spawn on the terrain - if left unchecked they will spawn on anything underneath the object selected in the Hierarchy.
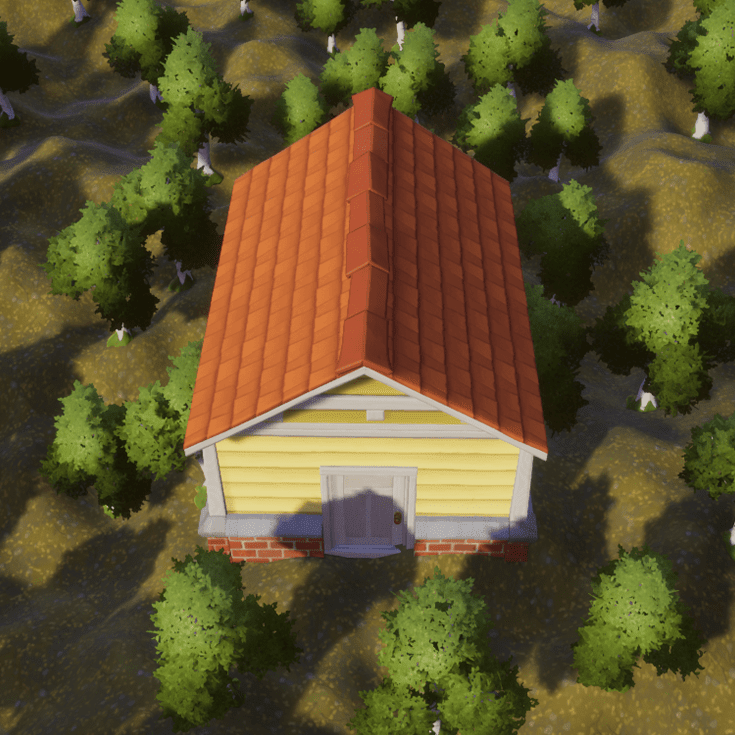
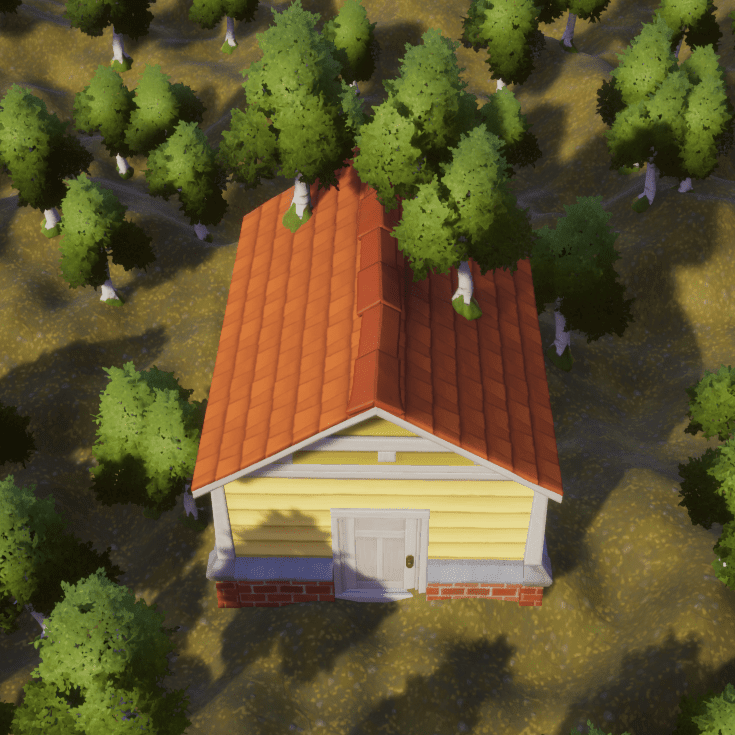 Only Spawn on Terrain checked (left) vs. unchecked (right)
Group in Folder
Keep Group In Folder checked to spawn all new objects in a folder. This helps keep your Hierarchy organized.
Spawning Individual Objects
You can also spawn individual objects using the Object Generator's settings by placing your cursor in the scene and pressing SHIFT + X with an object selected in the Core Content tab. The object will spawn under your cursor. This allows you finer control over an object's placement without having to worry about randomizing its rotation, scale, or color.
Was this page helpful? Can it be improved? Please let us know your feedback!