Art in Core
Warning
Flagged for Review. Incomplete or outdated information may be present.
Overview
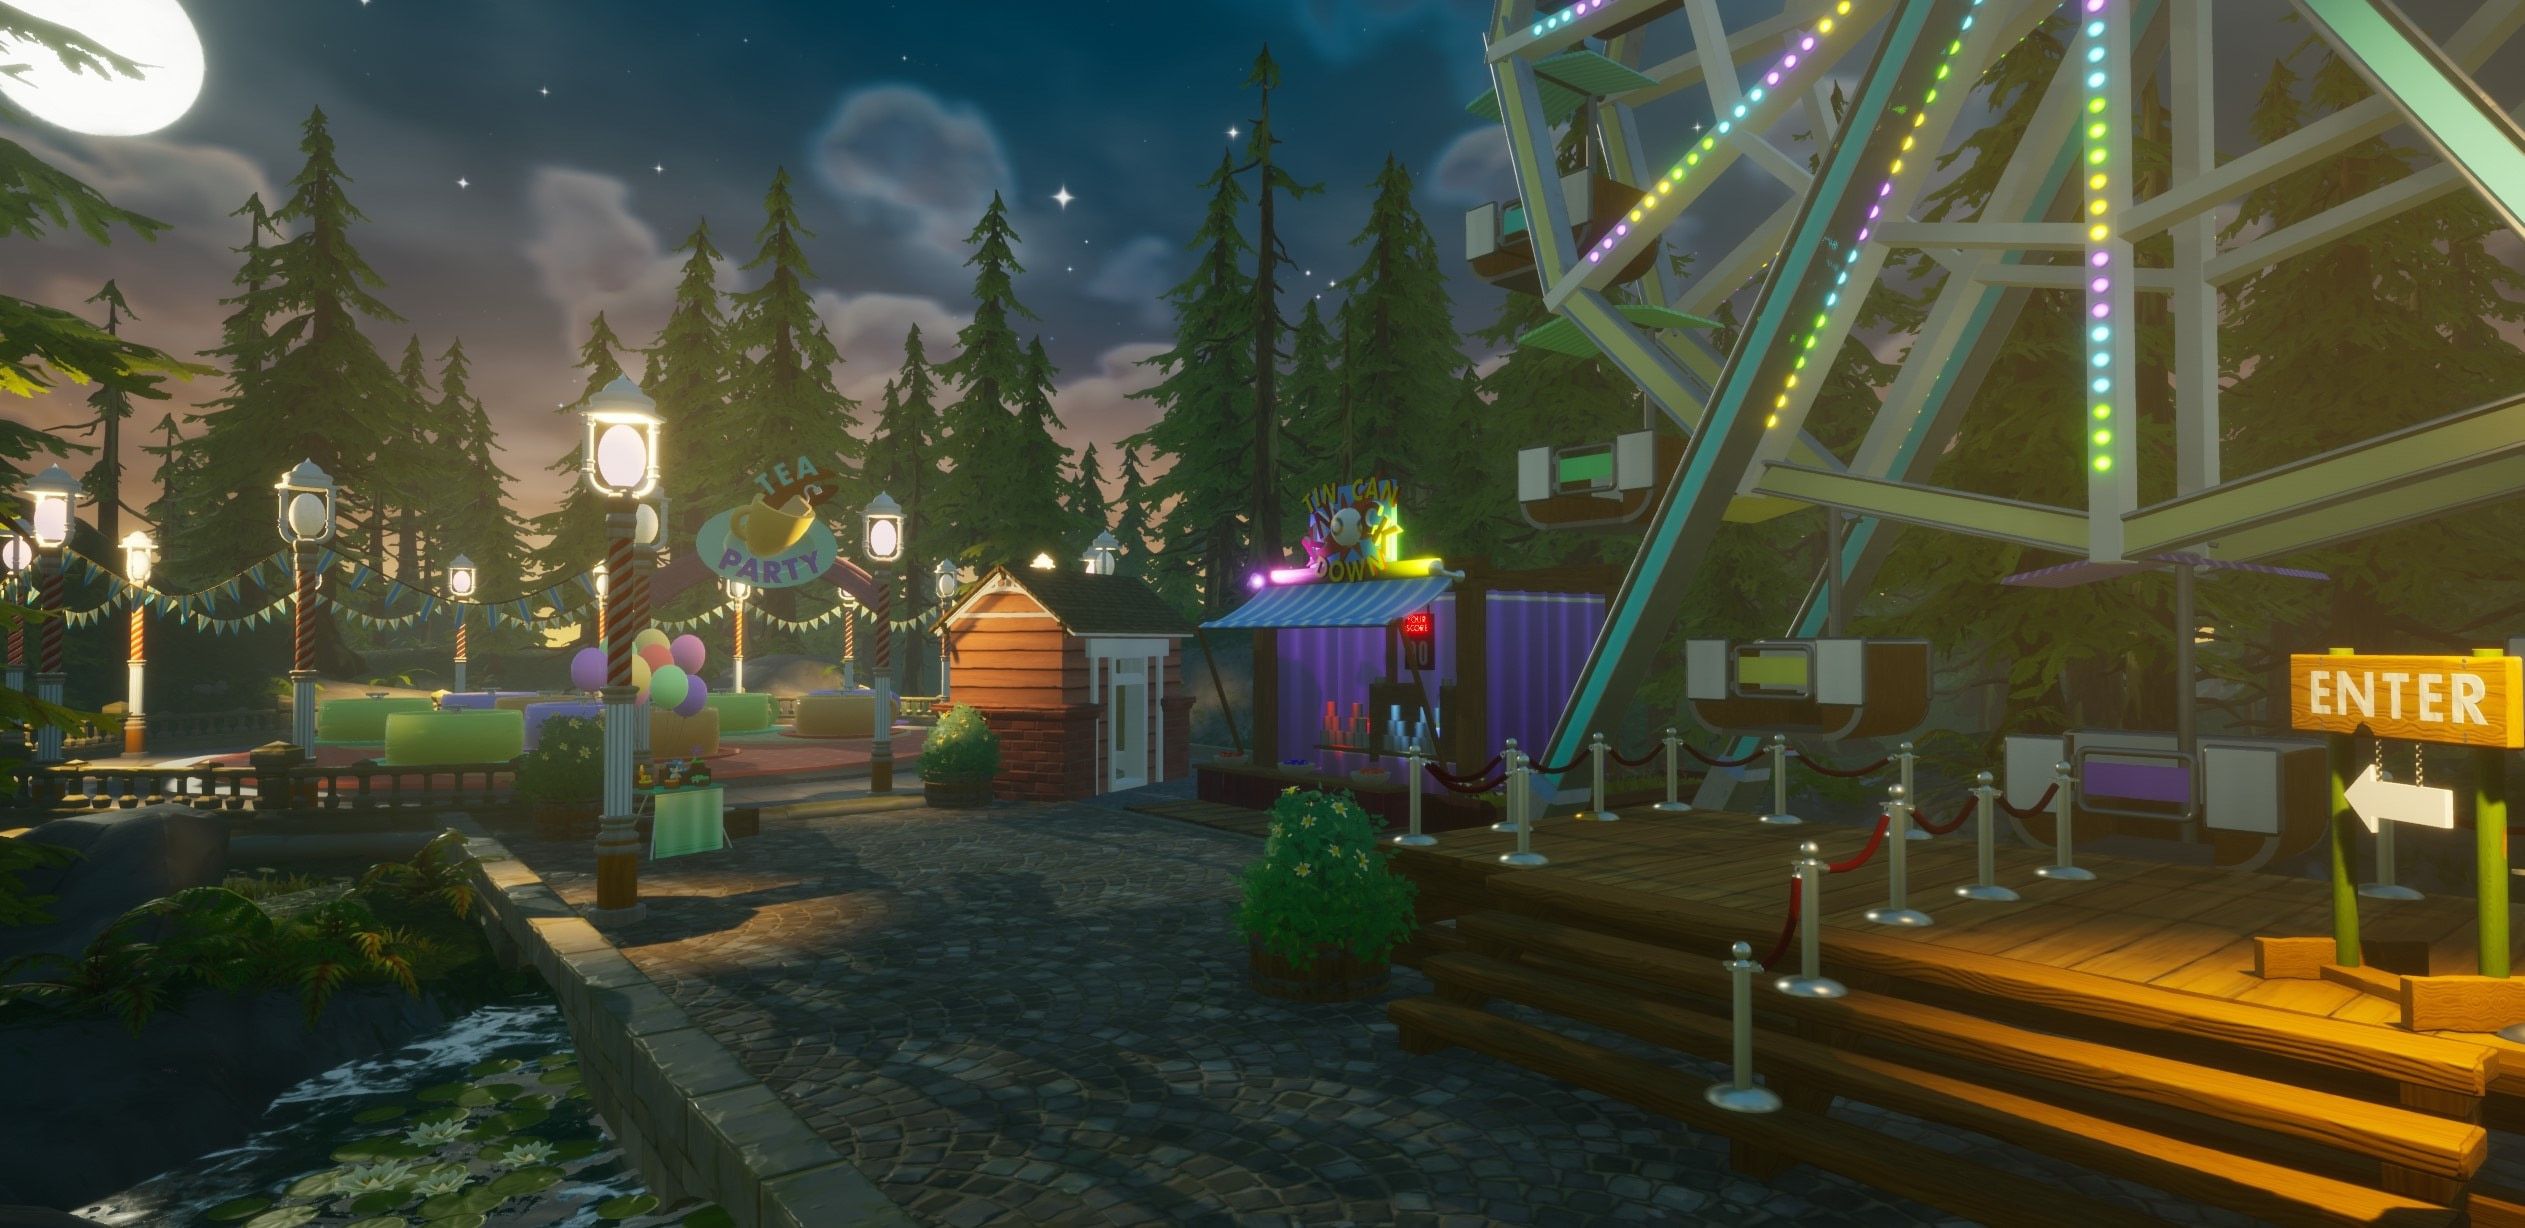
The Core™ editor comes with all sorts of built-in 3D models and props for using and combining in any way that you can imagine!
By resizing and combining different shapes and props, anything can be made!
You won't need to understand 3D software or modeling to create beautiful art in Core. While some aspects are similar, it's up to you how complex you wish to work. You could skip the art-making phase and use the finished props from the Core Content tab, or you could browse through what other creators have shared on Community Content.
Pre-Made Props & Assets
To find all the 3D models already included in Core, start by looking in the Core Content tab, found in the bottom left window of the editor.
This window can also be accessed via the dropdown "View -> Core Content". tab
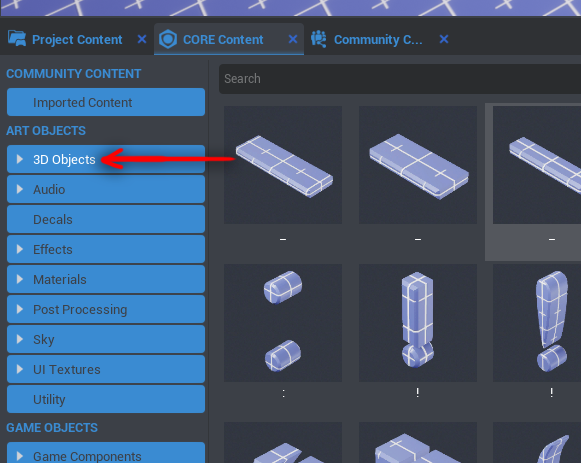
Currently, there are 5 different sections that contain models to use right away:
- 3D Text
- All 3D letters and symbols found on an English keyboard.
- Basic Shapes
- Cubes, cylinders, spheres and more.
- Nature
- Rocks, plant foliage, and all props related to setting the natural world.
- Props
- Whole objects like benches, shields, tables, and various weapon parts.
- Tilesets
- Sets of parts that could be used for constructing houses, cities, and castles.
- This category also includes handy whitebox (also known as very basic versions of building parts) pieces for level design and planning a map.
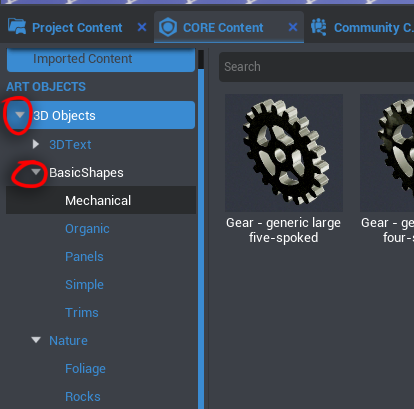
These larger categories can be found by clicking the little drop down arrow on the left side of the 3D Objects button label. Each of these categories also have subcategories, that can be opened the same way:
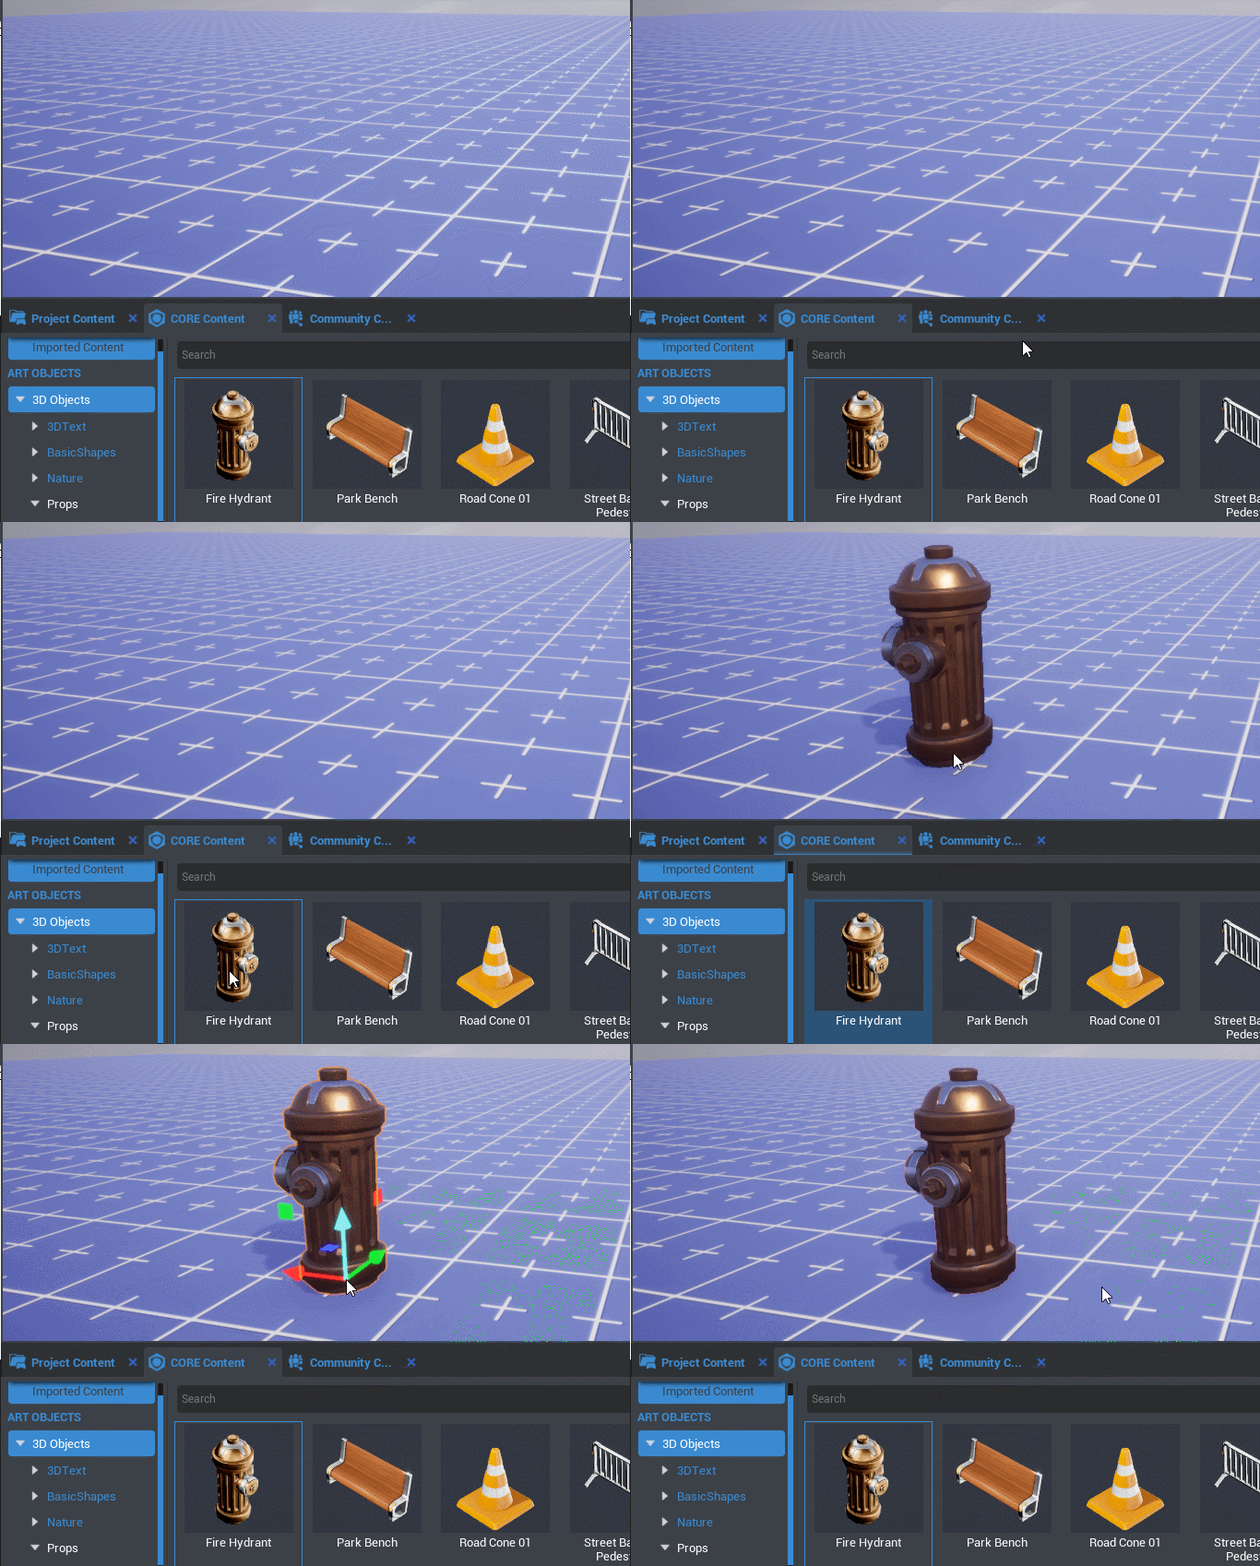
To use any of these models, simply click and drag one out from the Core Content tab into the scene or the hierarchy.
Move, Rotate, & Scale

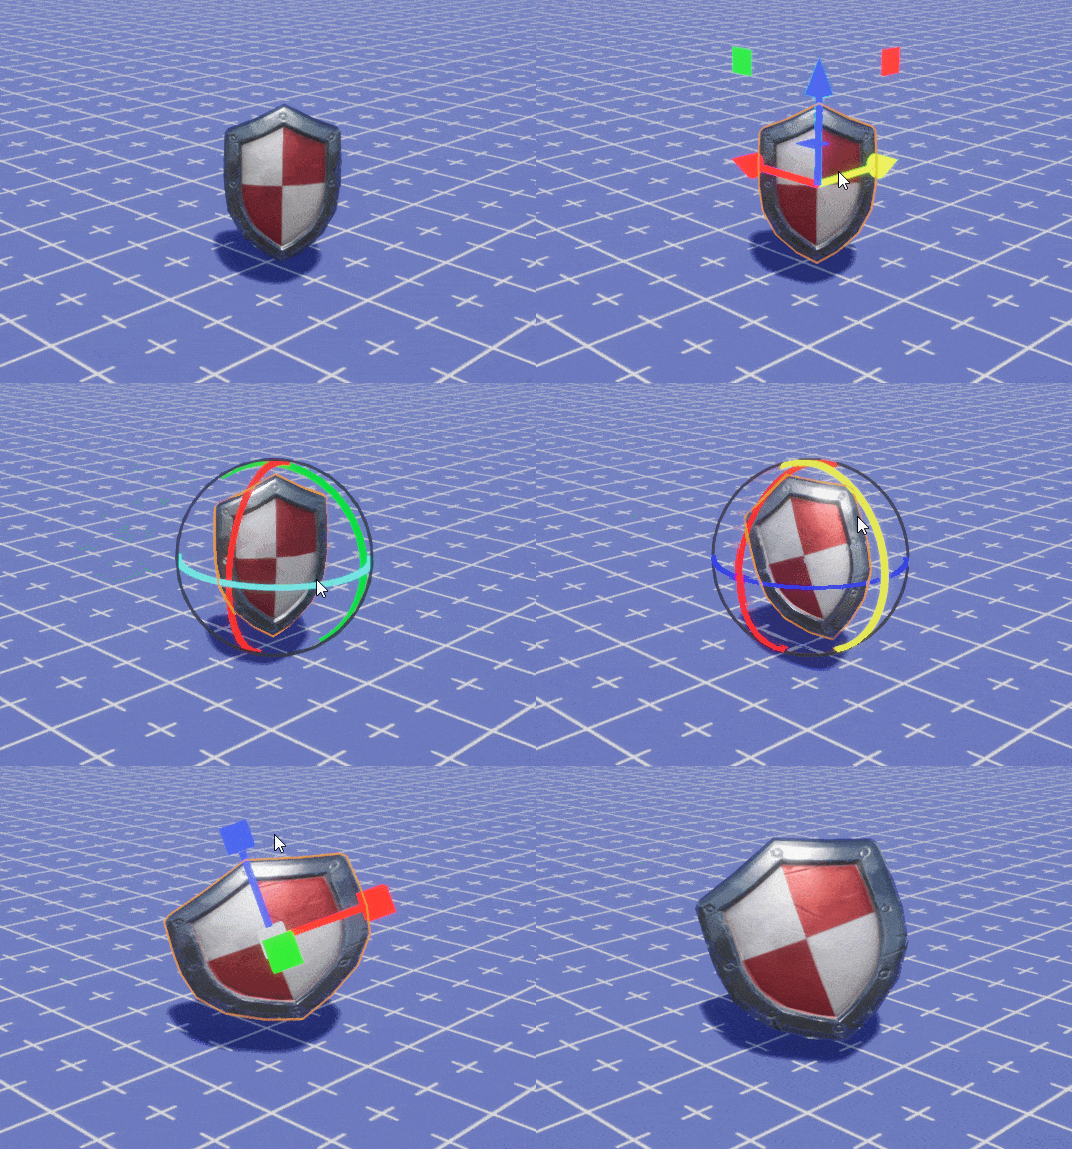
The red, blue, and green arrows indicate the different directions a model can be moved along. Modeling and placement uses 3 main functions: Move, Rotate, and Scale. These different modes can be toggled between by either clicking the different buttons at the top left of the Core editor, or by using the keys W, E, and R, respectively.
Color Your Way: Changing Model Materials
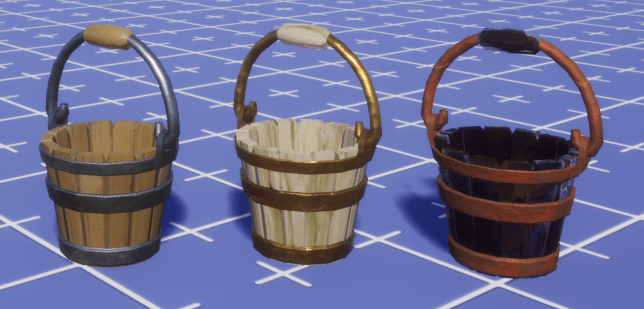
While Core does have a distinct art style, all of this can be changed and modified to whatever your vision may be. The colors and patterns on a 3D model are known as "materials". The easiest way to create a dramatic change is to alter the materials of a model, either to a completely different material, or by editing the settings of a material.
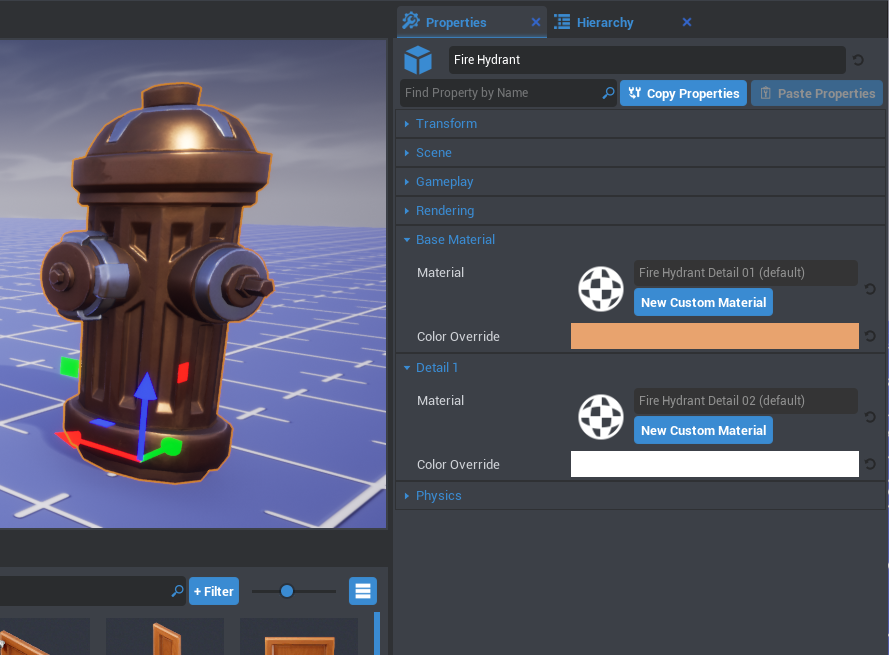
When a model is selected, all of its settings will show up in the Properties window. To find the settings for altering a material, scroll down in the Properties window to the section labeled "Base Material". Different objects may have different names for their material slots.
Some models can only have one material, while others are able to have multiple materials applied on different parts of the model.
In the case of this "Craftsman Chair 01", there are 3 different material slots. One for the wooden base, one for the cushion, and one for the metal details.
There are two ways to change these material slots:
- Drag a material from the Materials section of the Core Content tab to the Material slot in the Properties window. Check out how it's done below:
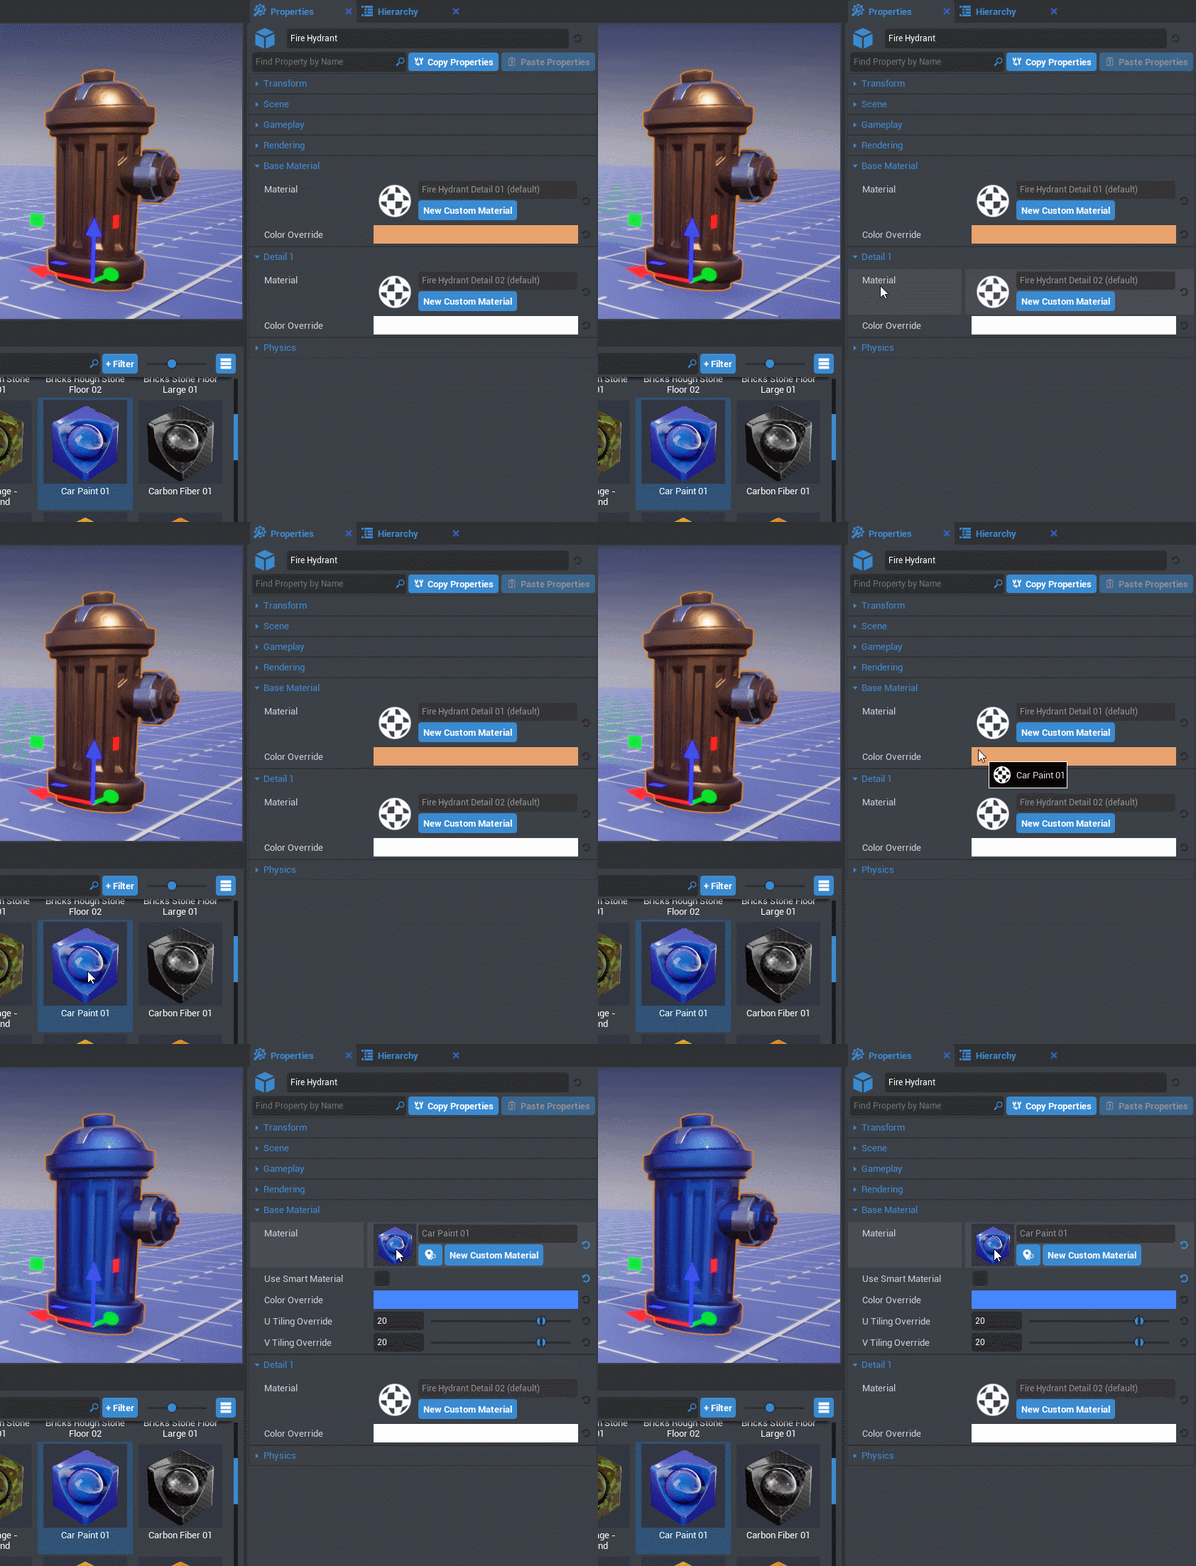
Or:
- Double-click the Material slot and select a material from the pop-up window:
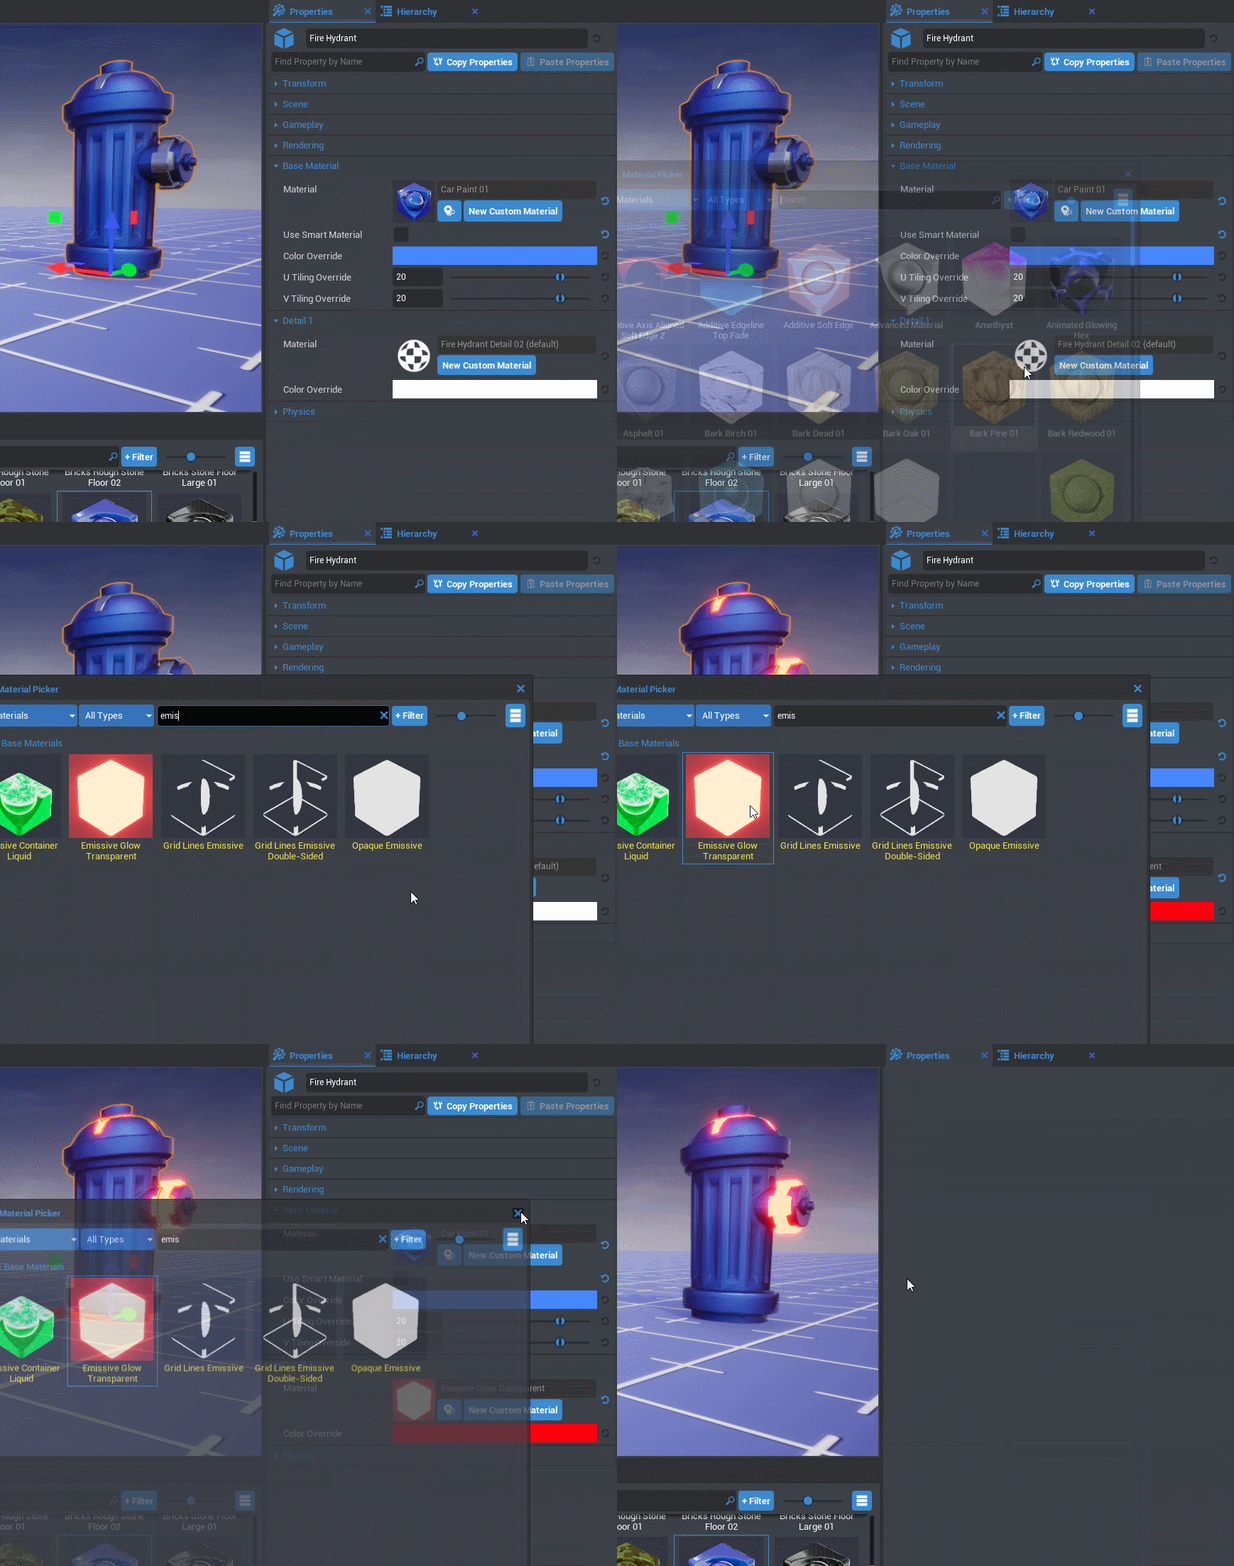
Applying materials in this way allows you to adjust the color of the material. To alter even more options for the material, such as roughness and emissive amount, you can create your own custom material.
Creating Your Own Custom Materials
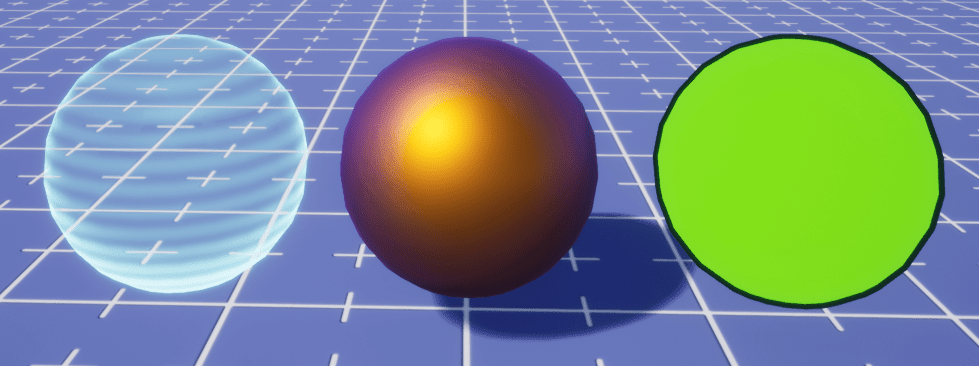
In your own project, you have the ability to create Custom Materials. This allows you to customize the settings of a specific material, and apply it to multiple objects. This way when your custom material is updated, it changes all models with that material at once!
To read more about creating custom materials, as well as more in depth details about materials, check out our Materials Guide.
Getting Complex: Combining Models
Using pre-made models in Core is not the only way to create art. By arranging different props together, your imagination is the limit!
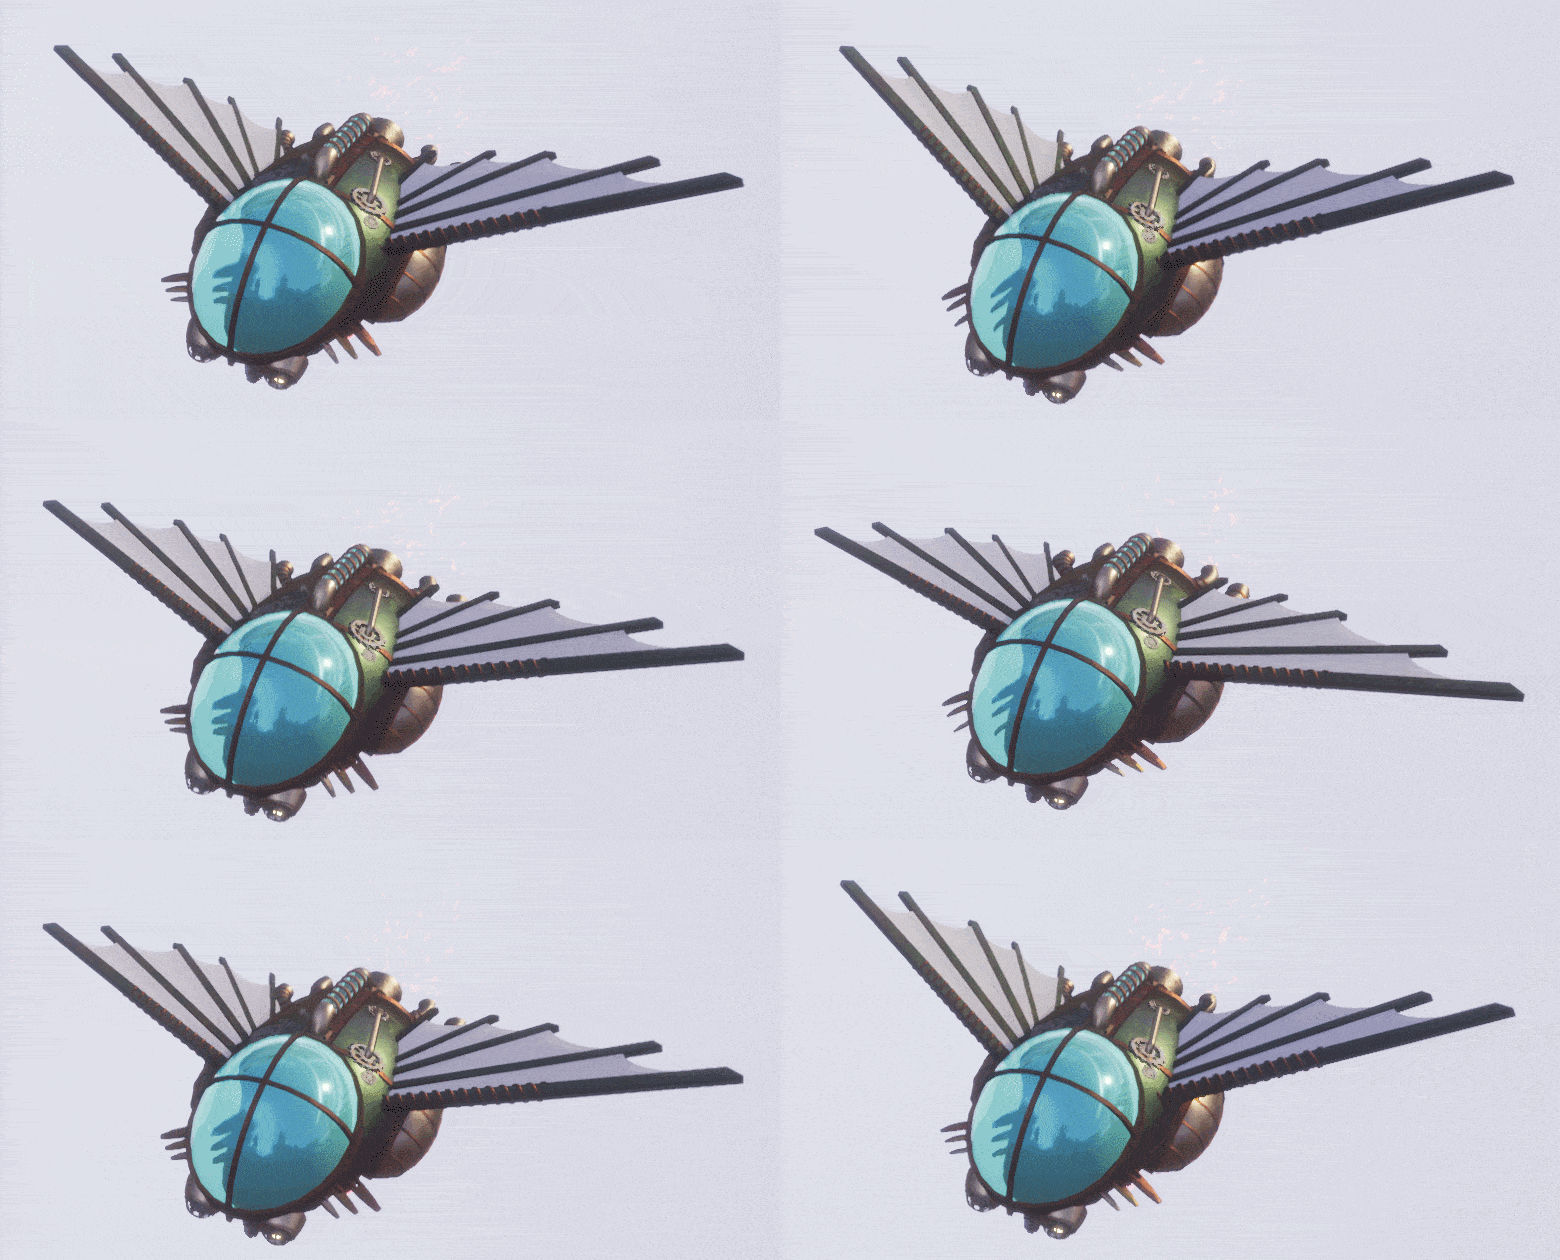 All of these objects and scenes were created using basic shapes and props combined in Core.
The process of making more complex models in Core is all about groups and folders. Build whatever shapes you would like, and use either folders or groups to combine them.
Using a folder to combine objects will allow you to select a single object when clicking. See this below:
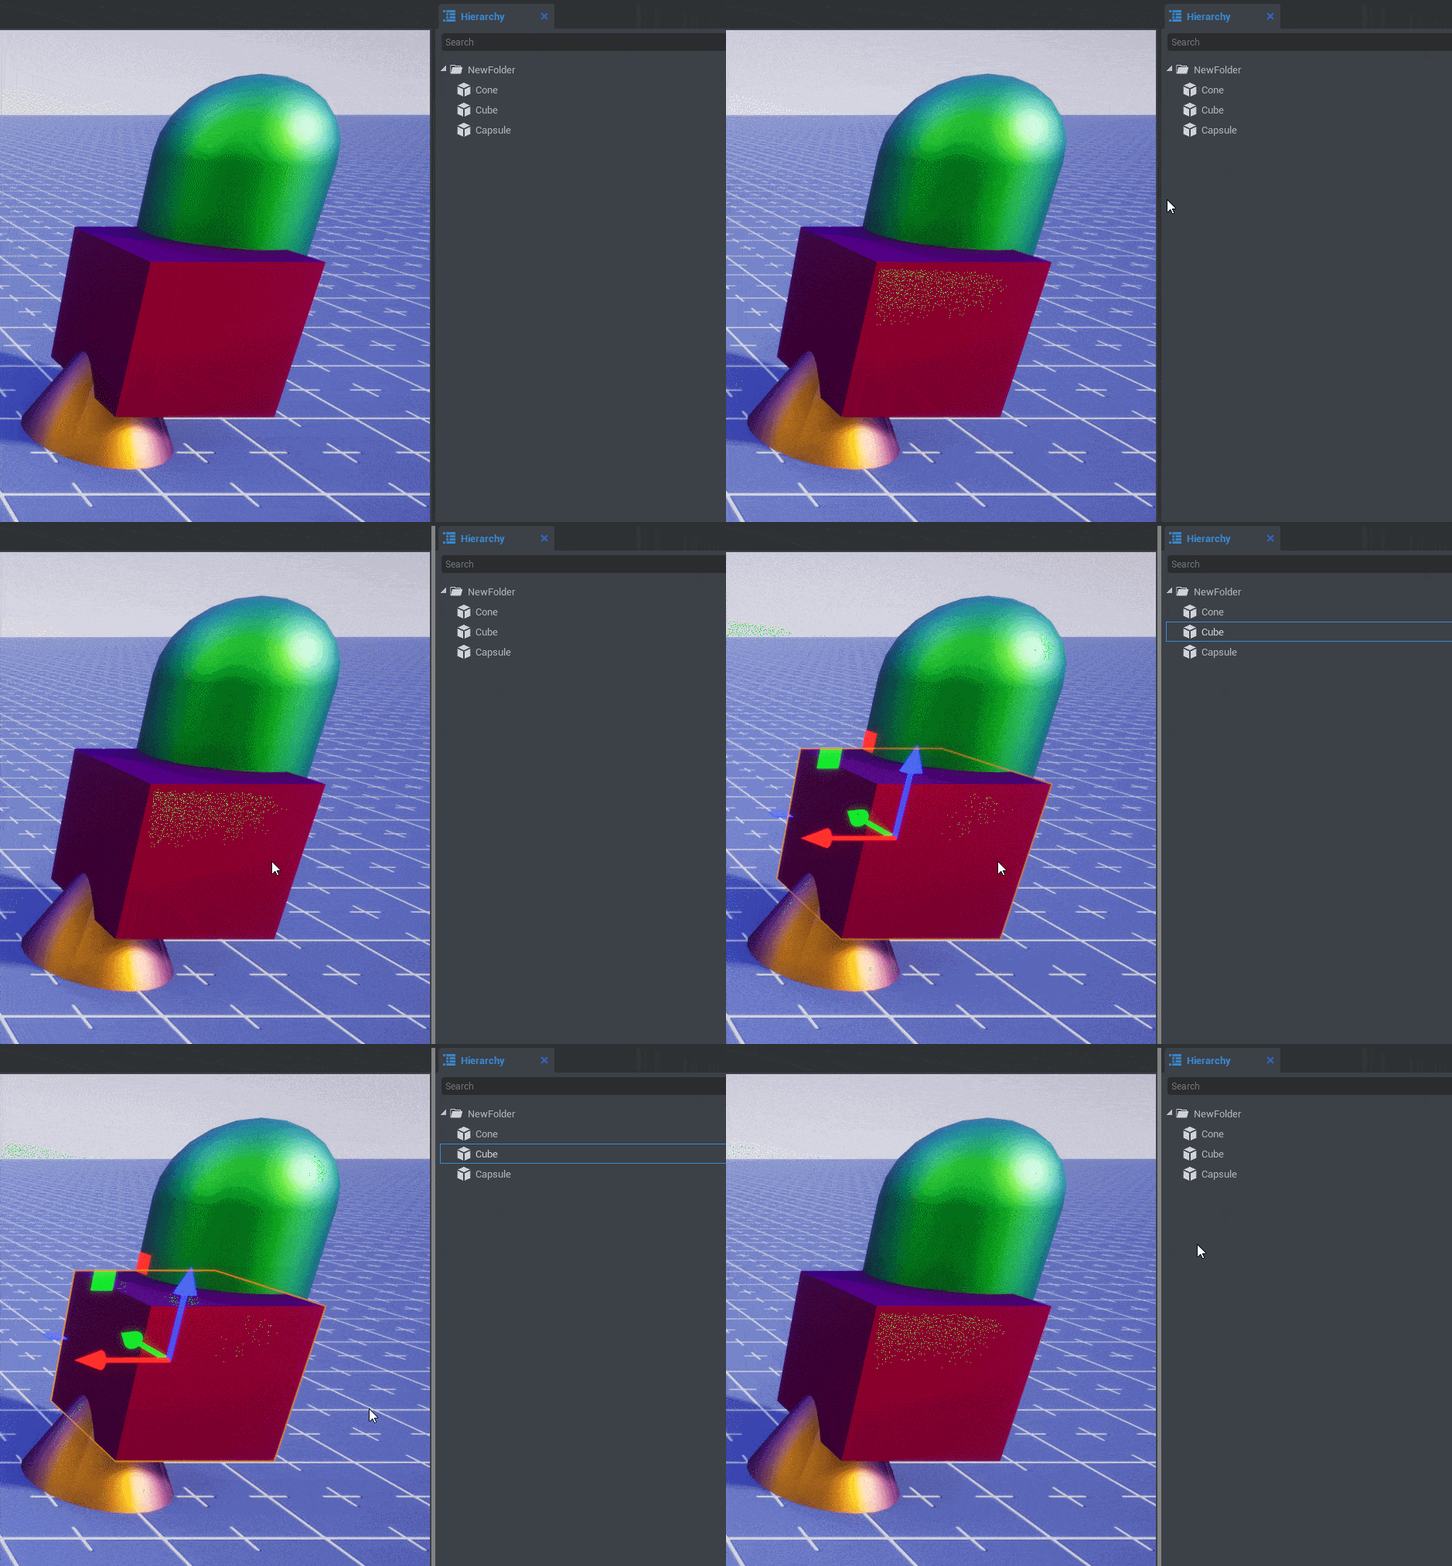
Using a group to combine objects will select the entire group at once when clicking a single object:
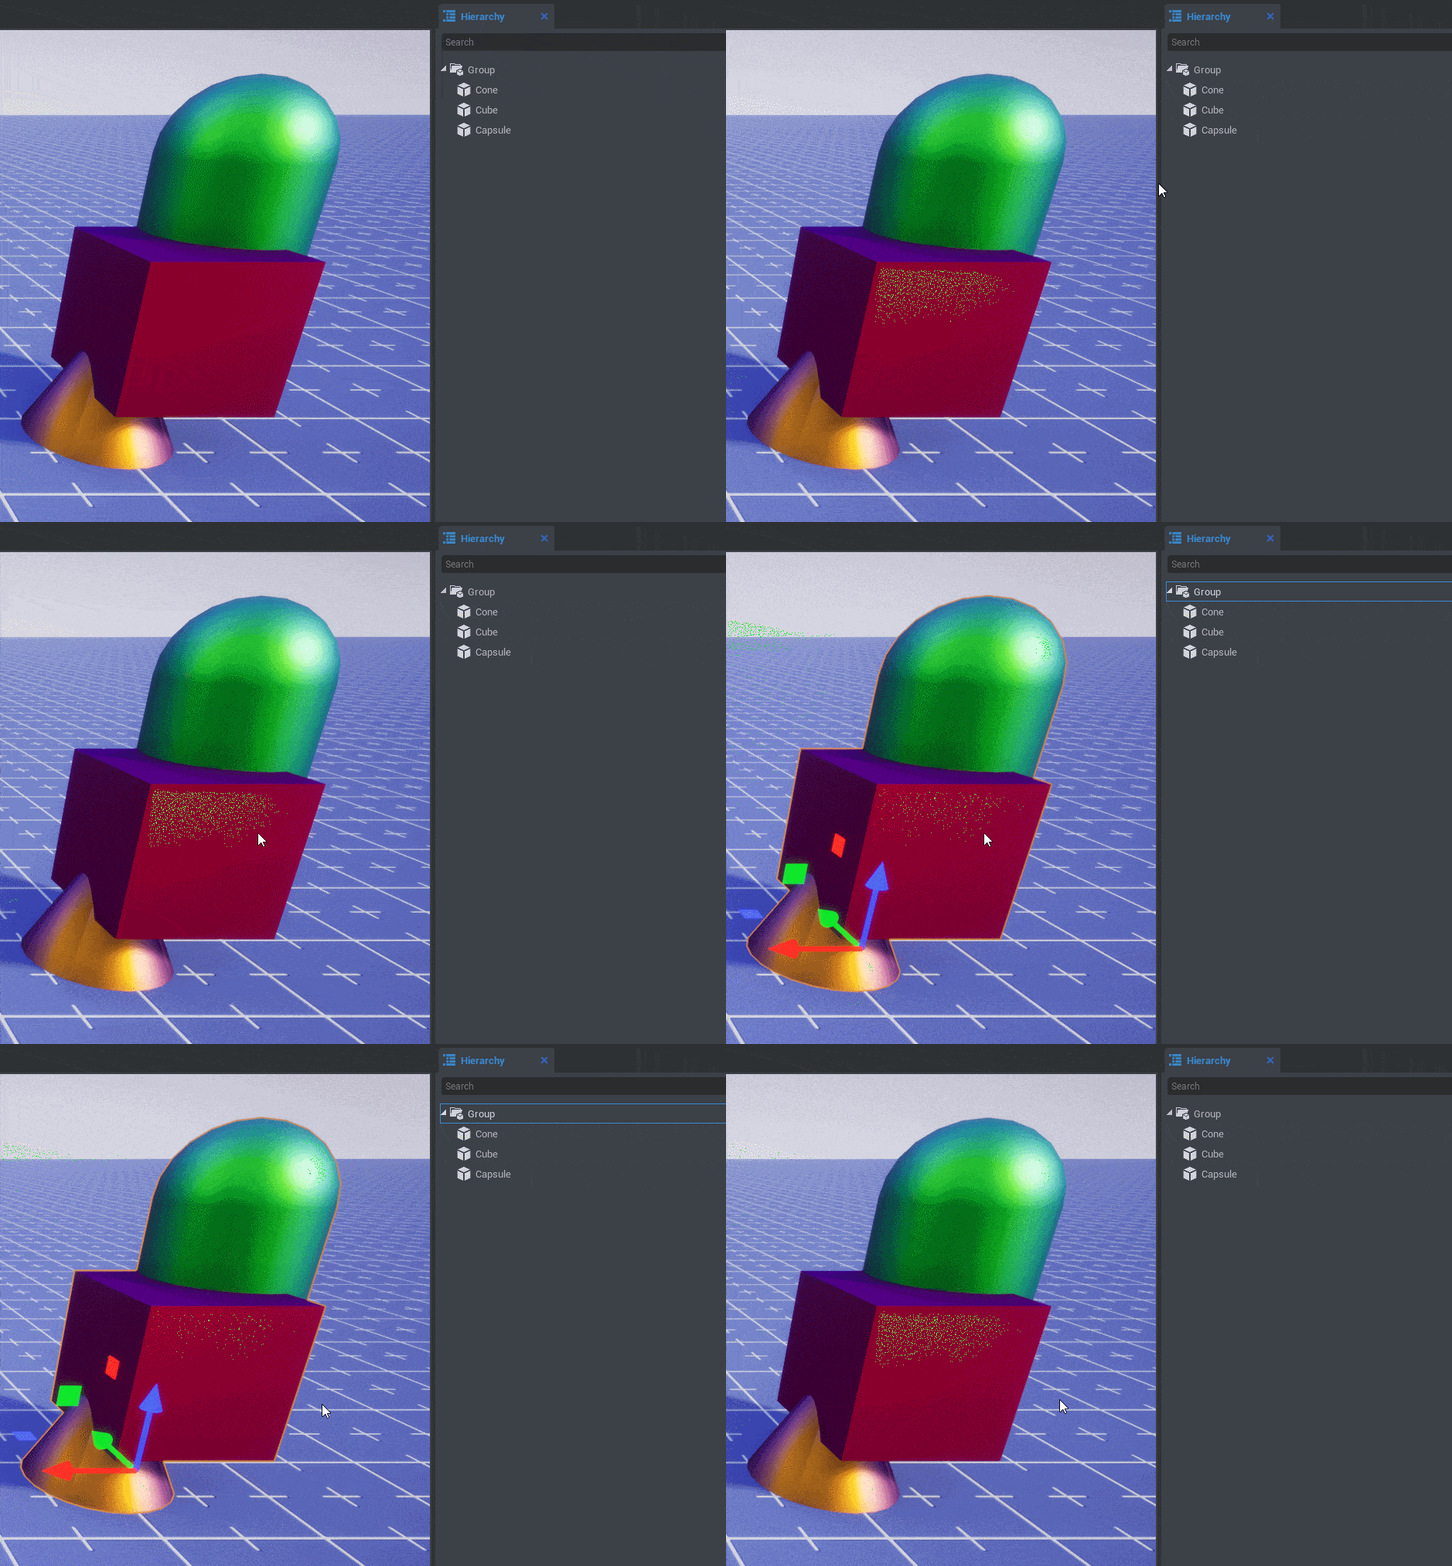
Use whichever method suits your needs more. Groups have two different modes that can be switched between for selection as well--this way you can use groups but still select the contents individually.
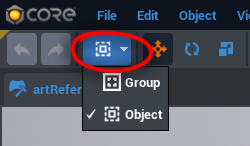
As well as the drop down on the top menu, the hotkey C can be used to toggled between group select and object select.
Efficient Game Model Creation
A huge part of creating video games is making sure that they work, and that they run smoothly!
Whenever you create models that will never change during gameplay and will always stay stationary--such as a tree--they will need to be kept in a Static Context folder. This way their data is never updated while the game plays, so they don't take up power that would be useful for other mechanics.

On the other end, you might make a model that does move during game runtime: like a gear that rotates or a windmill. This process of continuous movement is pretty expensive for the game to run--it can cause lag. To better optimize this, place all objects and scripts that will be moving in a Client Context folder.
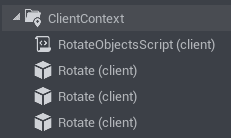
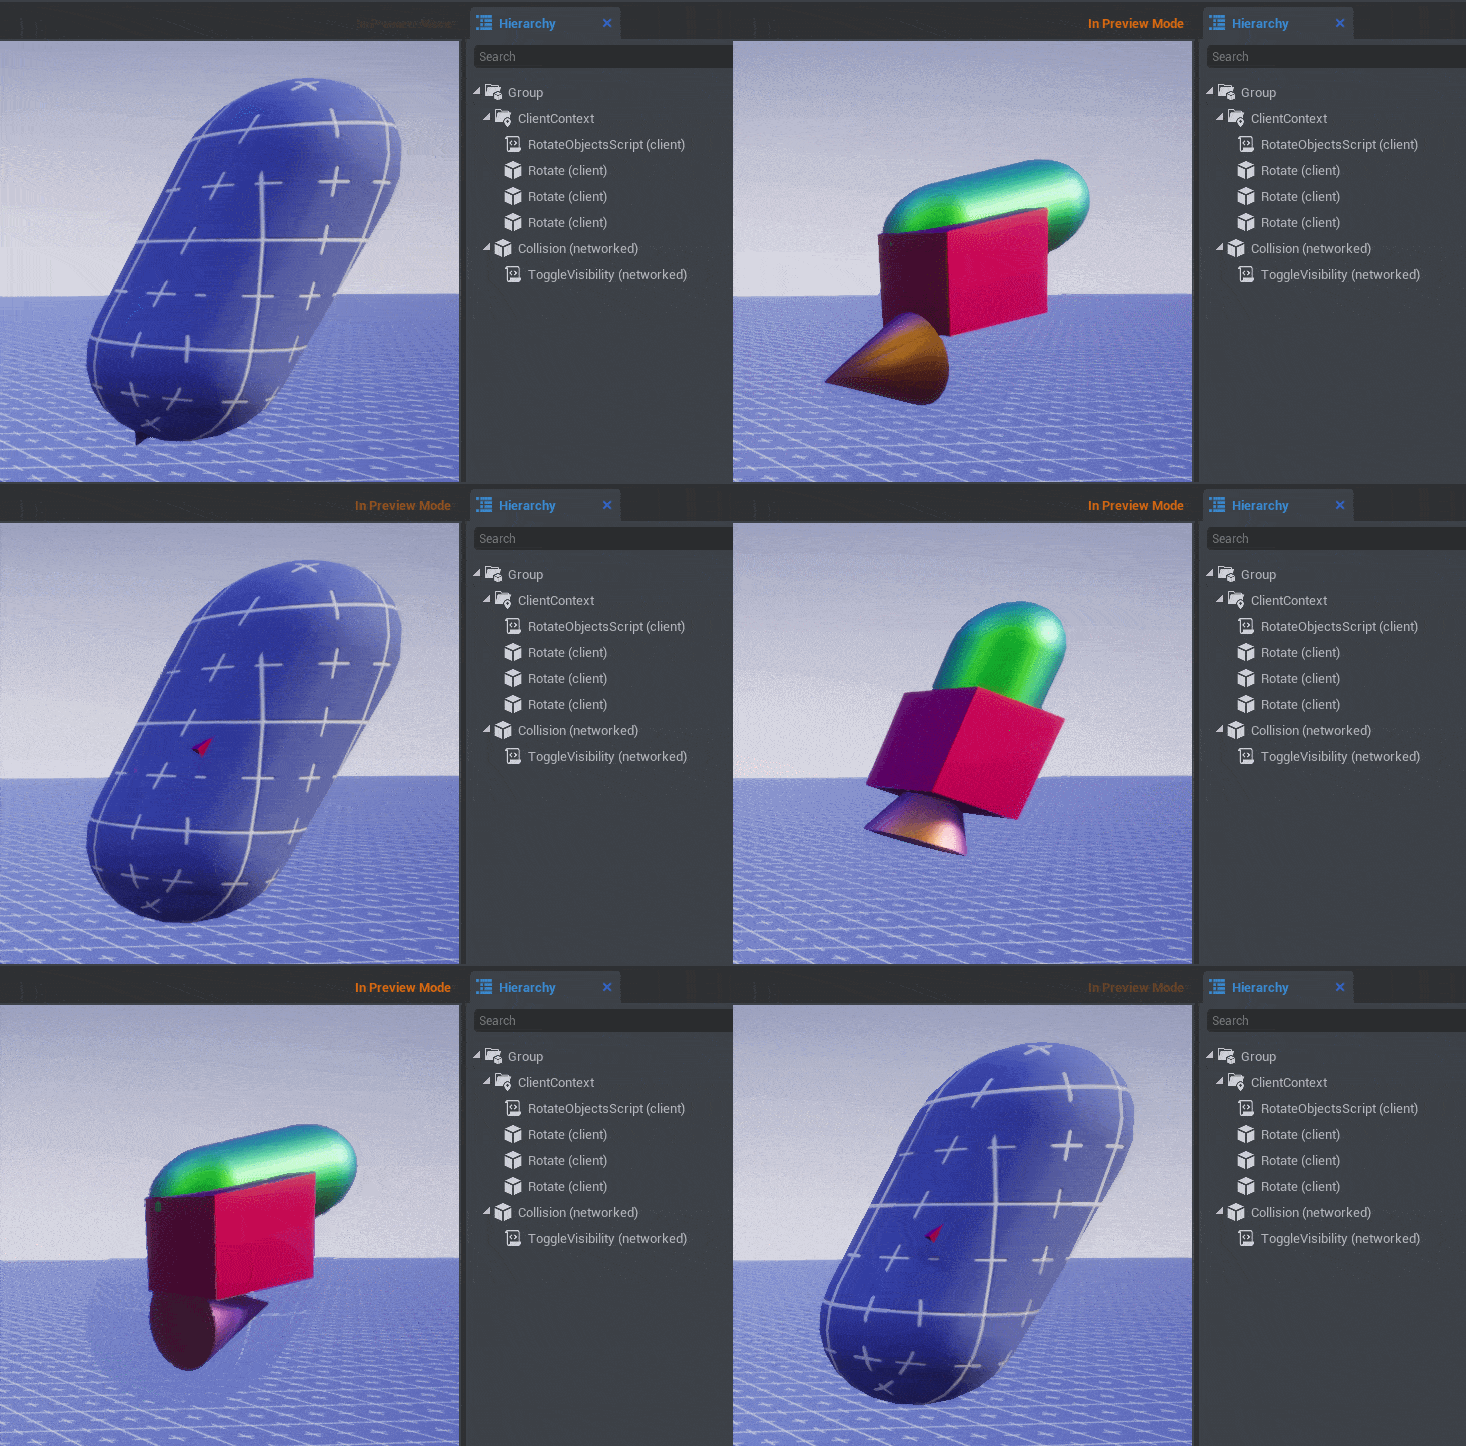
When placing objects in a "Client Context" folder, players will not be able to collide with them. They'll just pass right through. To give them collision for gameplay, place other shapes around the whole object that are outside of the Client Context folder, and turn their visibility off. Make sure their "Collidable" checkbox is also marked. These settings can be changed from the object's "Properties" window.
This is a great way to create fake collision. The player will collide with the invisible object, rather than the moving shapes.
Sharing the Glory: Publishing Templates
To learn about sharing your artwork & models with other users, check out our tutorial on Templates!
Was this page helpful? Can it be improved? Please let us know your feedback!